Precision Craftsmanship: Unlocking the Potential of Flooring Tongue and Groove Router Bits
In the realm of woodworking and home improvement, the subtle elegance of a well-fitted wooden floor can be transformative. Achieving that flawless, seamless finish often relies on the use of specific tools, among which flooring tongue and groove router bits are indispensable. These router bits are designed to create interlocking joints that ensure durability, stability, and aesthetic appeal in wooden flooring installations. Understanding how to effectively use these tools can elevate a flooring project from ordinary to extraordinary.
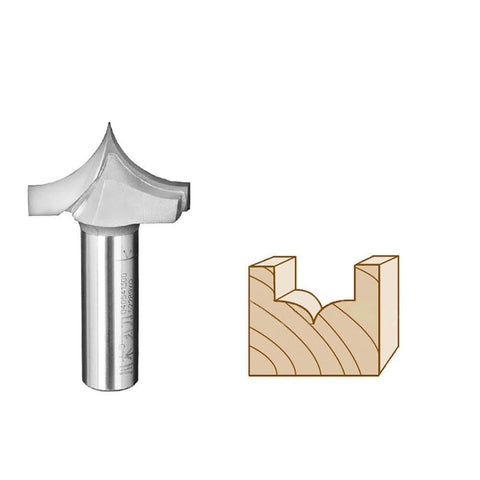
Flooring tongue and groove router bits are engineered to produce two interlocking profiles: the tongue and the groove. The tongue is a protruding ridge that fits snugly into the groove, creating a secure and stable joint. This interlocking mechanism is fundamental to hardwood flooring installations, as it allows for expansion and contraction of the wood while maintaining a flush surface.
The process begins with selecting the right router bit set for your flooring project. Tongue and groove router bits typically come in pairs or sets, each designed for a specific profile. It's essential to choose bits that match the dimensions and type of flooring you are working with. For instance, standard hardwood floors may require a different bit profile than engineered or laminate flooring. Ensure that the bits are compatible with your router and suited to the thickness of your flooring material.
Preparation is key to achieving precise cuts with tongue and groove router bits. Start by measuring and marking the edge of each flooring plank where the tongue and groove profiles will be cut. Accurate marking ensures that each piece will fit together seamlessly, which is crucial for a professional finish. Double-check your measurements and alignments to avoid any discrepancies that could affect the final result.
Setting up the router for tongue and groove cutting involves adjusting both the bit and the depth of the cut. Install the tongue bit first, setting the router to cut the tongue profile on one edge of each plank. Adjust the router's depth to match the required height of the tongue. Similarly, set up the groove bit for the opposing edge of the planks, ensuring that it complements the tongue bit's profile. The router's depth settings should be precise, as variations can lead to gaps or an uneven fit between planks.
With the router set up, carefully guide each plank through the router to cut the tongue and groove profiles. Maintain a steady hand and consistent speed to ensure smooth, even cuts. It's beneficial to make test cuts on scrap pieces of wood before working on your actual flooring planks. This allows you to fine-tune the router settings and ensure that the profiles match perfectly.
After routing the tongue and groove profiles, inspect each plank for accuracy. The tongue should fit snugly into the groove of another plank without excessive force. This fit ensures that the flooring will be stable and free of gaps once installed. It's also helpful to test-fit a few pieces together to check for any adjustments needed before proceeding with the entire batch.
The installation of flooring planks with tongue and groove profiles involves careful alignment and securing. Begin by laying out the planks in the desired pattern, ensuring that the tongues and grooves align correctly. Start nailing or gluing the planks into place, working from one end of the room to the other. Use spacers to maintain consistent gaps between the planks and the walls, allowing for expansion as needed.
Once the planks are installed, you may need to sand and finish the surface. Sanding helps to smooth out any minor imperfections and ensure a seamless transition between planks. Apply a finish that complements the wood type and protects the floor from wear and tear. A well-finished floor not only enhances the visual appeal but also extends the life of the flooring.
Flooring tongue and groove router bits are essential tools for anyone involved in woodworking or home renovation. They enable the creation of strong, precise joints that are crucial for a high-quality flooring installation. By mastering the use of these router bits, you can achieve a professional-grade finish that enhances the beauty and durability of your flooring projects.
In conclusion, the art of woodworking is greatly enriched by the precise and effective use of specialized tools like tongue and groove router bits. These tools not only streamline the installation process but also contribute to a finished product that is both functional and aesthetically pleasing. Whether you're a professional craftsman or a dedicated DIY enthusiast, understanding and utilizing the capabilities of flooring tongue and groove router bits can elevate your craftsmanship and transform your projects into true works of art.


